
Upgrade Windows 10 to Windows 11 Without Losing Files
You can upgrade a compatible Windows 10 PC to Windows 11 without deleting personal files, installed programs, or most system settings. The upgrade is free for eligible Windows 10 devices and normally keeps the same edition: Windows 10 Home upgrades to Windows 11 Home, while Windows 10 Pro upgrades to Windows 11 Pro.
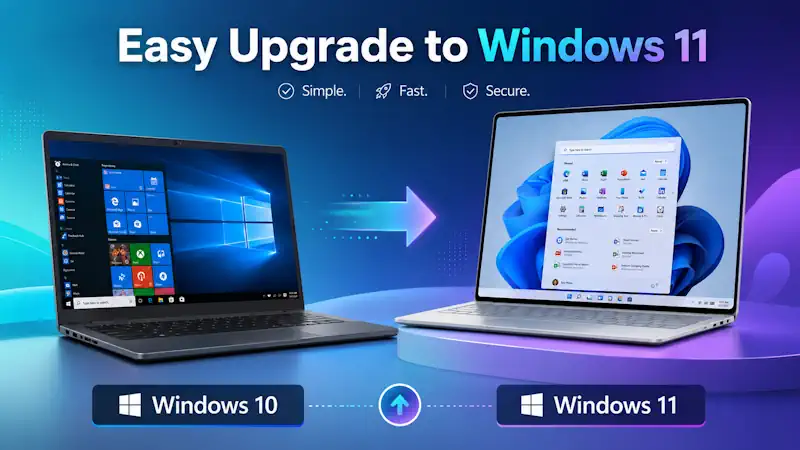
The safest method is Windows Update. If Windows 11 is not offered there, you can use the official Installation Assistant or run Windows 11 Setup from an ISO file.
Check Whether the PC Supports Windows 11
Download and run Microsoft’s PC Health Check app. Open it and select Check now under the Windows 11 section.
The computer must meet the Windows 11 hardware requirements, including TPM 2.0, UEFI firmware with Secure Boot support, compatible graphics, and a storage device of at least 64 GB.
If PC Health Check reports that TPM 2.0 or Secure Boot is unavailable, the feature may simply be disabled in the BIOS or UEFI settings. Enable it there and run the compatibility check again.
Before starting, save important files to another drive or cloud storage. An ordinary in-place upgrade keeps them, but a backup protects against interrupted installation, disk problems, or an accidental clean install. Microsoft also recommends backing up files before upgrading.
Upgrade Through Windows Update
Open:
Start > Settings > Update & Security > Windows Update
Select:
Check for updates
Install any pending Windows 10 updates first and restart the PC. Windows 11 may not appear until the current Windows 10 updates have finished installing.
Check for updates again. If the PC is ready, Windows Update will display a Windows 11 upgrade offer.
Select:
Download and install
Accept the license terms and allow the files to download. You can continue using the computer during the download.
When Windows asks for a restart, save your work and select:
Restart now
The computer will restart several times. Do not turn it off during installation. When the Windows sign-in screen appears, log in with your normal account. Your files and programs should remain in place.
Use Windows 11 Installation Assistant
Use this method when PC Health Check confirms compatibility but Windows Update does not offer the upgrade.
Open Microsoft’s official Download Windows 11 page and download Windows 11 Installation Assistant.
Run the downloaded file as administrator.
The assistant checks the computer and displays the installation option if the hardware is supported. Select:
Accept and install
Wait while Windows 11 downloads and prepares the upgrade. When prompted, select:
Restart now
The PC will restart several times and complete the upgrade automatically. The Installation Assistant is designed to upgrade the existing installation rather than erase the drive.
Upgrade with a Windows 11 ISO
An ISO is useful when Windows Update fails or you want to keep the installation file for another attempt.
Download the Windows 11 ISO directly from Microsoft.
After the download finishes, right-click the ISO file and select:
Mount
Open the new virtual drive and run:
setup.exe
Windows Setup will check for updates and prepare the installation. When you reach the Choose what to keep screen, select:
Keep personal files and apps
This option preserves personal files, installed programs, and Windows settings. Check this selection carefully before starting the installation.
Select Install and allow the computer to restart.
Do not boot from the ISO or USB drive when your goal is to keep programs and files. Start setup.exe from inside the running Windows 10 installation. Booting from installation media is intended for a clean installation and can erase the existing system.
Will Windows Stay Activated?
Open the Windows 10 activation page before upgrading:
Settings > Update & Security > Activation
Make sure Windows is activated.
A PC activated with a digital license should activate Windows 11 automatically after the upgrade and internet connection. You normally do not need to enter the product key again when installing the matching edition on the same computer.
After upgrading, check:
Settings > System > Activation
The page should show that Windows is activated.
If Windows 11 Is Not Offered
First, install every available Windows 10 update, restart the computer, and check again.
Run PC Health Check to identify the exact failed requirement. If TPM or Secure Boot is disabled, enable it in UEFI instead of using modified installers or hardware-check bypass scripts.
Windows Update may also temporarily withhold the upgrade when Microsoft has detected a compatibility problem with a driver, program, or device. In that case, updating drivers or removing the incompatible software may solve the problem. Microsoft recommends Windows Update as the primary upgrade method because it offers Windows 11 after the device has been checked for known compatibility issues.
After the Upgrade
Open Windows Update and install any available Windows 11 updates and driver updates.
Then check your main programs, printer, sound, Wi-Fi, Bluetooth, and other connected hardware. Most applications continue working normally because an in-place upgrade carries the existing programs and settings into Windows 11.
Keep the Windows.old folder until you are certain everything works. Windows uses it for the temporary rollback option. Do not delete it immediately through Disk Cleanup.
For most compatible PCs, the complete process is simply:
Settings > Update & Security > Windows Update > Check for updates > Download and install
Use the Installation Assistant or ISO method only when Windows Update does not provide the upgrade.